Canon EOS 60D User Manual: A Comprehensive Guide
Welcome to the ultimate resource for mastering your Canon EOS 60D! This guide provides essential information, drawing from Canon’s official documentation and user experiences. Whether you’re a beginner or seasoned photographer, this manual offers clear instructions, tips, and troubleshooting to maximize your camera’s potential. Explore features, settings, and creative techniques with confidence, ensuring you capture stunning images every time.
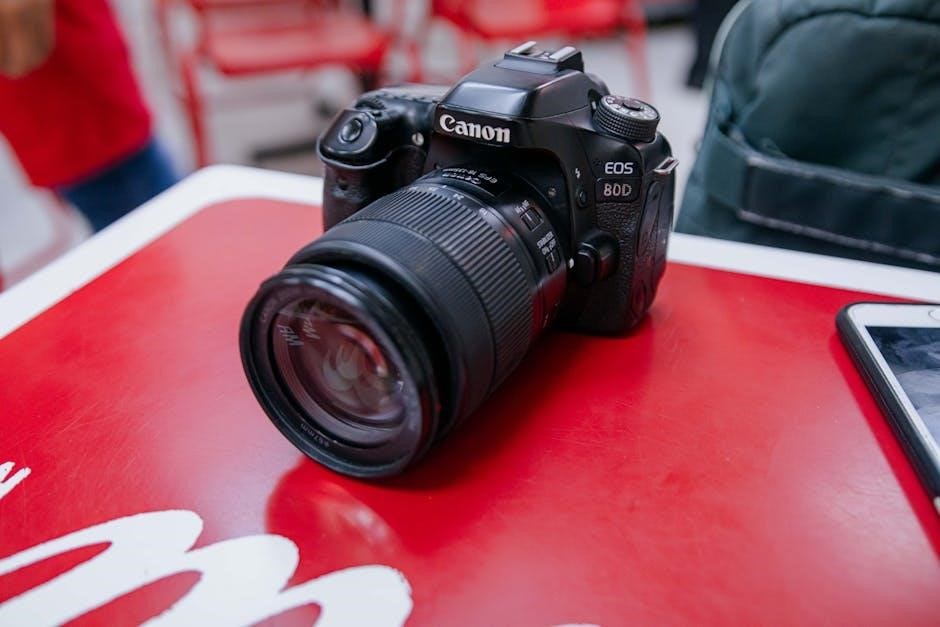
The Canon EOS 60D is a versatile and powerful digital SLR camera designed for both amateur and experienced photographers. Released as a successor to the EOS 50D, it offers a compelling blend of advanced features and user-friendly operation. This camera boasts an 18-megapixel CMOS sensor, delivering high-resolution images with exceptional detail and clarity. Its robust image processor ensures rapid performance and excellent low-light capabilities.
The EOS 60D is equipped with a vari-angle LCD screen, providing flexibility in framing shots from various perspectives. This feature is particularly useful for shooting videos and capturing images from unconventional angles. The camera also offers a range of shooting modes, including fully automatic, semi-automatic (Aperture Priority and Shutter Priority), and full manual control, catering to different skill levels and creative preferences.
Furthermore, the EOS 60D supports Full HD video recording, allowing users to capture high-quality movies with ease. The camera’s intuitive interface and customizable settings make it a valuable tool for photographers seeking to explore their creative vision and produce professional-looking results. This manual provides a comprehensive guide to understanding and utilizing all the features of the Canon EOS 60D, ensuring you get the most out of your camera.
Key Features of the EOS 60D
The Canon EOS 60D is packed with features designed to enhance your photography experience; At its core is an 18.0-megapixel CMOS sensor, which delivers stunning image quality with rich detail and vibrant colors. Combined with the DIGIC 4 image processor, the camera ensures fast and efficient performance, even in challenging lighting conditions. The ISO range extends from 100 to 6400, expandable to 12800, allowing for excellent low-light shooting capabilities.
One of the standout features is the 3.0-inch vari-angle LCD monitor, offering flexible viewing angles for creative compositions. The 9-point autofocus system provides precise and reliable focusing, ensuring sharp images. The EOS 60D also excels in video recording, supporting Full HD (1080p) video capture with manual controls for aperture, shutter speed, and ISO. This allows for cinematic video creation with ease.
Additional key features include a built-in flash, hot shoe for external flash units, and compatibility with Canon’s extensive range of EF and EF-S lenses. The camera also offers creative filters and image processing options to enhance your photos directly in-camera. With its combination of high-resolution imaging, versatile features, and intuitive design, the Canon EOS 60D is a powerful tool for photographers of all levels.
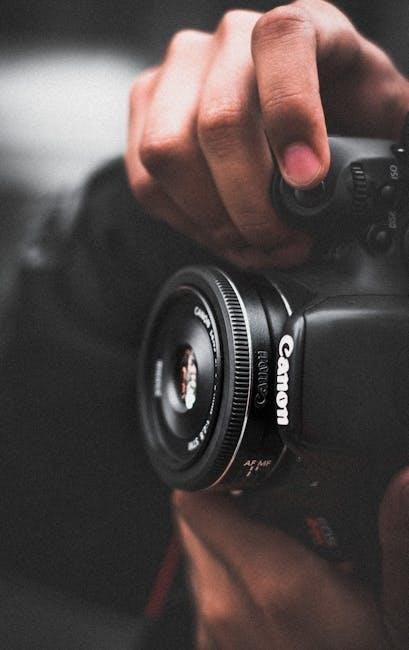
Understanding the Camera Body and Controls
Familiarizing yourself with the Canon EOS 60D’s body and controls is crucial for efficient and intuitive operation. The top panel features the mode dial, which allows you to select various shooting modes, from fully automatic to manual. Adjacent to the mode dial are controls for ISO, metering mode, and LCD illumination. The shutter button, located on the grip, is used to focus and capture images. Behind the shutter button is the main dial, which adjusts settings like aperture and shutter speed, depending on the shooting mode.
The rear of the camera houses the LCD screen, surrounded by several buttons. These include the menu button for accessing camera settings, the info button for displaying shooting information, and the playback button for reviewing captured images. A multi-controller allows for navigating menus and selecting focus points. Other essential controls include the quick control dial, which provides quick access to frequently used settings, and the AE/FE lock button for locking exposure and focus.
On the side of the camera, you’ll find ports for connecting external devices such as microphones, headphones, and USB cables. Understanding the function and location of each button and dial will enable you to quickly adjust settings and capture the perfect shot. This knowledge is the foundation for mastering your EOS 60D and unlocking its full potential.
Basic Shooting Modes: Auto, Program, and Scene Modes
The Canon EOS 60D offers several basic shooting modes designed for ease of use and optimal results in various situations. The Auto mode is fully automatic, allowing the camera to handle all settings for a point-and-shoot experience. It’s perfect for beginners or when quick snapshots are needed without manual adjustments. Program mode (P) provides more control than Auto, allowing you to adjust ISO, white balance, and exposure compensation while the camera sets aperture and shutter speed.
Scene modes are pre-programmed settings optimized for specific shooting scenarios. These include Portrait, Landscape, Close-up, Sports, and Night Portrait. Each mode adjusts camera settings to best capture the scene, such as using a wide aperture for blurred backgrounds in Portrait mode or a fast shutter speed to freeze action in Sports mode. These modes simplify photography by providing tailored settings for common situations.
Understanding these basic shooting modes is essential for getting started with your EOS 60D. They offer a range of options from fully automatic to semi-automatic, allowing you to gradually learn and experiment with different settings. By utilizing these modes effectively, you can capture high-quality images in a variety of conditions, building a foundation for more advanced photography techniques.
Advanced Shooting Modes: Aperture Priority (Av), Shutter Priority (Tv), and Manual (M)
The Canon EOS 60D unlocks creative potential through its advanced shooting modes: Aperture Priority (Av), Shutter Priority (Tv), and Manual (M). Aperture Priority allows you to control the aperture, which affects depth of field. Select a wide aperture (low f-number) for shallow depth of field, ideal for portraits, or a narrow aperture (high f-number) for greater depth of field, suitable for landscapes. The camera automatically adjusts the shutter speed for proper exposure.
Shutter Priority (Tv) lets you control the shutter speed, crucial for capturing motion. Use a fast shutter speed to freeze action or a slow shutter speed to create motion blur. The camera automatically adjusts the aperture. Manual mode (M) grants full control over both aperture and shutter speed, requiring a strong understanding of the exposure triangle. An external light meter or the camera’s built-in meter aids in setting proper exposure.
Mastering these modes enables precise control over image appearance. Experimenting with aperture and shutter speed allows you to tailor photos to your artistic vision. Manual mode, while challenging, offers the ultimate freedom to create exactly the image you desire, pushing your photography skills to new heights. These modes are essential for serious photographers seeking creative expression.
Navigating the Menu System
The Canon EOS 60D’s menu system is the gateway to customizing your camera’s settings and features. Access the menu by pressing the ‘MENU’ button on the camera’s rear. The menu is organized into several tabs, each containing related settings. Use the multi-controller or the quick control dial to navigate between tabs and menu items. The LCD screen displays the menu options and their current settings.
Common menu tabs include ‘Shooting,’ ‘Playback,’ ‘Setup,’ and ‘Custom Functions.’ The ‘Shooting’ menu controls image quality, ISO settings, white balance, and other shooting-related parameters. The ‘Playback’ menu manages image review, deletion, and protection. The ‘Setup’ menu adjusts camera settings like date/time, LCD brightness, and language. ‘Custom Functions’ allows you to personalize camera behavior to your preferences.
Each menu item has sub-options that can be adjusted using the multi-controller or quick control dial. Press the ‘SET’ button to confirm your selection. The menu system offers a wealth of options to fine-tune your camera’s performance. Familiarizing yourself with the menu layout and settings is crucial for getting the most out of your EOS 60D. Regular exploration of the menu will unlock the camera’s full potential and enhance your photographic experience.
Image Quality Settings: Resolution, ISO, and White Balance
Achieving optimal image quality on your Canon EOS 60D involves understanding and adjusting key settings: resolution, ISO, and white balance. Resolution determines the size and detail of your images. Higher resolution captures more detail but results in larger file sizes. Select the appropriate resolution based on your intended use, such as printing or web display. The EOS 60D offers various resolution options to suit your needs.
ISO sensitivity controls the camera’s sensitivity to light. Lower ISO values (e.g., ISO 100) produce cleaner images with less noise but require more light. Higher ISO values (e.g., ISO 3200) are useful in low-light situations but can introduce noise or graininess. Experiment with different ISO settings to find the best balance between brightness and image quality.

White balance ensures accurate color reproduction by compensating for different lighting conditions. The EOS 60D offers various white balance presets, such as daylight, cloudy, and tungsten, as well as a custom white balance option for precise color control. Incorrect white balance can result in color casts, so choose the appropriate setting for your shooting environment. Mastering these image quality settings will significantly enhance your photography.
Focusing Modes: Autofocus and Manual Focus
The Canon EOS 60D offers both autofocus (AF) and manual focus (MF) options, providing flexibility for various shooting scenarios. Autofocus allows the camera to automatically adjust the lens for sharp focus on a selected subject. The EOS 60D features different AF modes, such as One-Shot AF for stationary subjects, AI Servo AF for moving subjects, and AI Focus AF, which automatically switches between the two. Select the appropriate AF mode based on your subject’s movement.
Manual focus, on the other hand, gives you complete control over the focusing process. This is particularly useful in situations where autofocus struggles, such as low-light conditions or when shooting through obstructions. To use manual focus, switch the lens to MF mode and turn the focusing ring until your subject appears sharp in the viewfinder or on the LCD screen. Practice using both AF and MF to develop your focusing skills.
Understanding when and how to use each focusing mode is crucial for capturing sharp, well-focused images. Experiment with both options to determine which works best for different subjects and shooting conditions. With practice, you’ll be able to confidently achieve accurate focus in any situation.
Metering Modes: Evaluating Light for Proper Exposure
The Canon EOS 60D offers various metering modes to evaluate light and determine the proper exposure for your photographs. Understanding these modes is crucial for achieving well-exposed images in different lighting conditions. The camera’s metering system measures the brightness of the scene and helps the camera decide the optimal aperture, shutter speed, and ISO settings.
The EOS 60D typically includes evaluative metering, partial metering, spot metering, and center-weighted average metering. Evaluative metering is the default mode, analyzing the entire scene to determine the exposure. Partial metering measures light from a smaller area, while spot metering focuses on a very small point. Center-weighted average metering emphasizes the center of the frame.
Choosing the right metering mode depends on the scene’s lighting and your desired outcome. For example, evaluative metering works well in most situations, while spot metering is useful when you need precise control over exposure in challenging lighting. Experiment with each mode to understand their effects and learn when to use them for optimal results. Mastering metering modes allows you to capture perfectly exposed images, even in complex lighting scenarios.
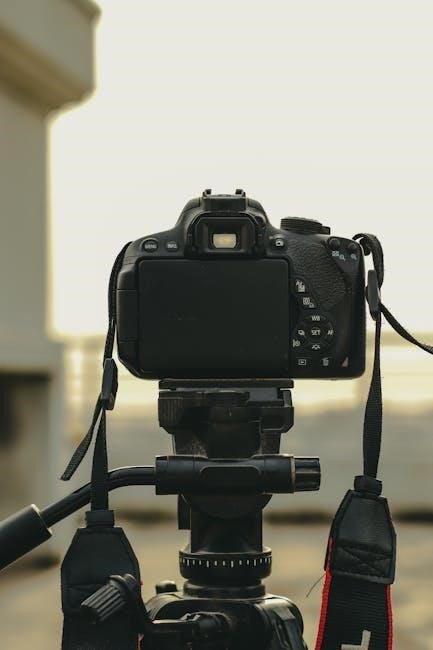
Using the LCD Screen and Viewfinder
The Canon EOS 60D provides two primary methods for framing and reviewing your shots: the LCD screen and the viewfinder. Each offers distinct advantages, catering to different shooting styles and situations. The LCD screen is particularly useful for Live View shooting, allowing you to compose images directly on the display. It’s also ideal for reviewing captured photos and navigating the camera’s menu system.
The viewfinder, on the other hand, offers a direct view through the lens, providing a more traditional shooting experience. It’s beneficial in bright sunlight, where the LCD screen can be difficult to see. Using the viewfinder also helps stabilize the camera against your body, reducing camera shake. The EOS 60D’s viewfinder typically displays important shooting information, such as aperture, shutter speed, and ISO.
Understanding how to effectively use both the LCD screen and viewfinder is essential for maximizing your shooting flexibility. Experiment with each to determine which works best for you in various scenarios. Adjusting the LCD’s brightness and using diopter adjustment for the viewfinder can further enhance your shooting experience;
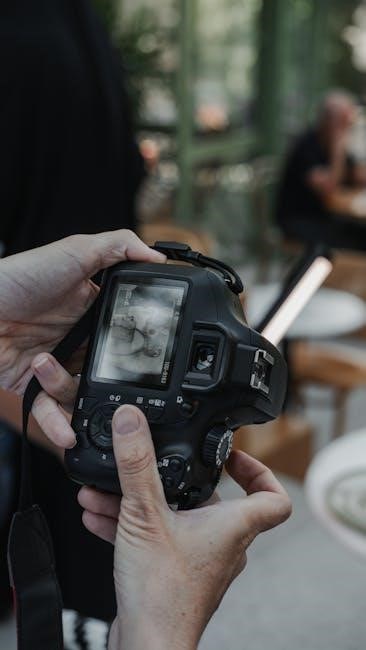
Playback and Reviewing Images
The Canon EOS 60D offers a variety of options for playing back and reviewing your captured images, allowing you to assess their quality and make necessary adjustments. To access the playback mode, simply press the playback button, typically indicated by a triangular arrow icon. Once in playback mode, you can navigate through your images using the main dial or the cross keys.
The camera provides different display options during playback. The basic display shows the image along with basic shooting information, such as the file number and date. You can press the display button to cycle through different display modes, including detailed information like aperture, shutter speed, ISO, and histogram. The histogram is a valuable tool for evaluating exposure, showing the distribution of tones in your image.
You can also zoom in on images to check focus and detail. Use the zoom buttons to magnify the image, and the cross keys to pan around. Furthermore, the EOS 60D allows you to delete unwanted images directly from the camera, protecting them, and rating them for later review. Familiarizing yourself with these playback features will help you improve your photography workflow.

Connecting to a Computer and Downloading Images
Transferring your photos from the Canon EOS 60D to your computer is a straightforward process, essential for editing, sharing, and archiving your work; The most common method involves using a USB cable to connect the camera directly to your computer. Ensure your camera is turned off before connecting the USB cable. Once connected and the camera is turned on, your computer should recognize it as a removable drive.
You can then access the camera’s memory card through your computer’s file explorer and manually copy the image files to your desired location. Alternatively, you can use Canon’s EOS Utility software, which offers advanced features such as automatic image transfer, remote camera control, and firmware updates. This software typically comes bundled with the camera or can be downloaded from the Canon website.

Another option is to remove the memory card from the camera and insert it into a card reader connected to your computer. This method can be faster than using a USB cable, especially for large files. Regardless of the method you choose, always ensure that the transfer process is complete before disconnecting the camera or card reader to avoid data corruption.
Troubleshooting Common Issues
Even with a reliable camera like the Canon EOS 60D, users may encounter occasional issues. A common problem is the camera not turning on, which often stems from a depleted battery or incorrect battery installation. Ensure the battery is fully charged and properly inserted. If the issue persists, try a different battery. Another frequent concern is blurry images, usually caused by incorrect focus or camera shake. Double-check your focus settings and use a tripod in low-light conditions.
Error messages can also appear, indicating various problems. Consult the user manual for specific error code explanations and recommended solutions. For example, an “Err 01” message often relates to communication issues with the lens, requiring cleaning of the lens contacts. If the LCD screen malfunctions, try resetting the camera to its factory settings. This option is usually found in the menu system.
Furthermore, if the camera freezes or becomes unresponsive, removing and reinserting the battery can often resolve the issue. Remember to keep your camera’s firmware updated, as updates often address known bugs and improve performance. If problems persist beyond these basic troubleshooting steps, consider seeking assistance from a qualified camera technician.
Available Software and Drivers
To fully utilize your Canon EOS 60D, it’s essential to have the correct software and drivers installed on your computer. Canon provides a suite of software designed to enhance your photography workflow, including EOS Utility, Digital Photo Professional (DPP), and Picture Style Editor.
EOS Utility allows you to connect your camera to your computer, enabling remote shooting, image transfer, and camera settings adjustments. DPP is a powerful image editing tool tailored for Canon RAW files, offering precise control over color, exposure, and sharpness. Picture Style Editor lets you create custom picture styles to apply unique looks to your photos.
To ensure compatibility and optimal performance, download the latest drivers and software versions from Canon’s official website. These downloads typically include Camera Window and other necessary components for seamless communication between your camera and computer. Regularly updating your software and drivers is crucial for bug fixes, improved functionality, and support for new operating systems. By utilizing these resources, you can streamline your image processing and maximize the creative potential of your EOS 60D.
Maintenance and Care of Your EOS 60D
Proper maintenance and care are crucial for extending the lifespan and ensuring the optimal performance of your Canon EOS 60D. Regular cleaning is essential to prevent dust and debris from affecting image quality. Use a soft, lint-free cloth to gently wipe the camera body, LCD screen, and lens elements. For stubborn smudges, a specialized lens cleaning solution and microfiber cloth are recommended.
Protect your camera from moisture, extreme temperatures, and direct sunlight. Store it in a cool, dry place when not in use, and consider using a camera bag or case for added protection during transport. Avoid exposing your camera to excessive humidity, as this can damage internal components.
Handle the lens with care, and avoid touching the glass surface with your fingers. When changing lenses, ensure the camera is turned off to prevent damage to the sensor. Periodically inspect the battery contacts and clean them with a dry cloth if necessary. By following these simple maintenance tips, you can keep your EOS 60D in excellent condition and enjoy years of reliable performance.

Leave a Reply
You must be logged in to post a comment.